 |
 |
 |
 |
 |
 |
 |
 |
 |
 |
 |
 |
 |
 |
 |
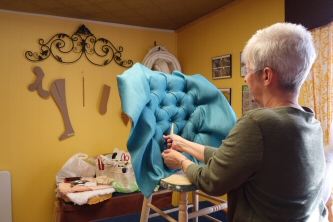 |
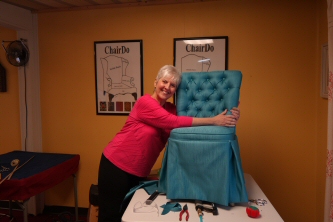 |
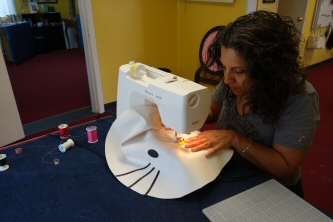 |
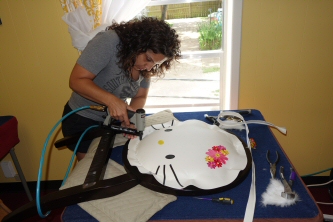 |
 |
 |
 |
 |
 |
 |
 |
 |
 |
 |
 |
 |
 |
 |
 |
 |
 |
 |
 |
 |
 |
 |
 |
 |
 |
 |
 |
 |
|
 |
 |
 |
 |
 |
|
 |
 |
 |
 |
 |
 |
 |
 |
 |
 |
 |
 |
 |
 |
 |
 |
 |
 |
 |
 |
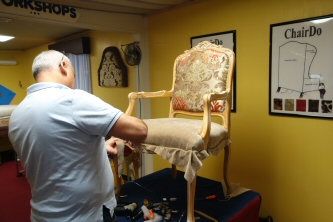 |
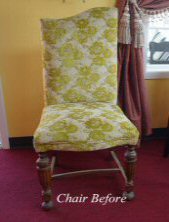 |
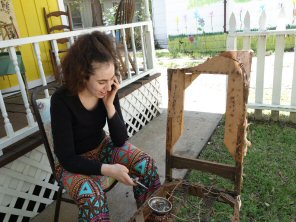 |
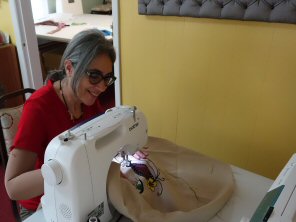 |
 |
 |
 |
 |
 |
 |
 |
 |
|
|
|
|
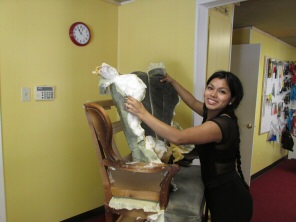
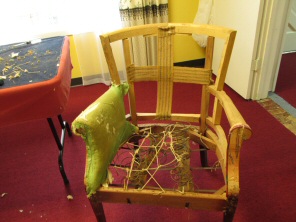
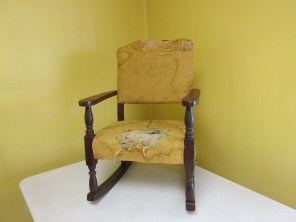
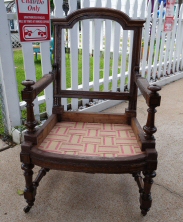
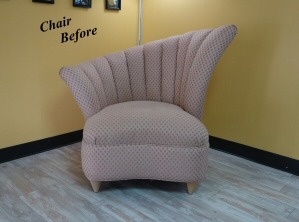
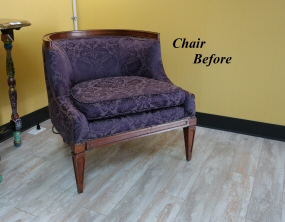
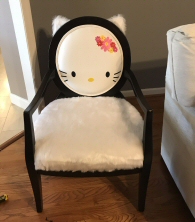
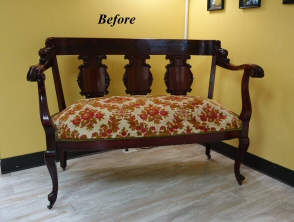
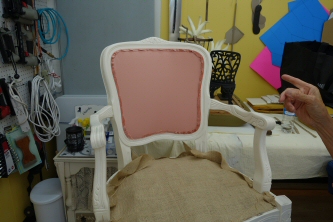
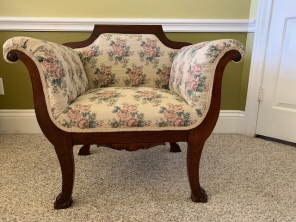
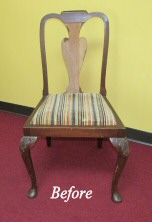
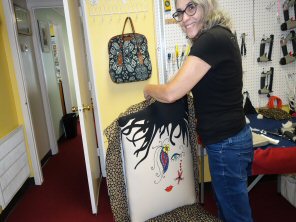
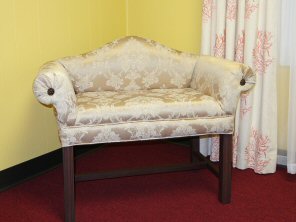
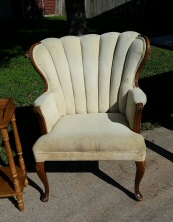 Helen's original Channel back chair |
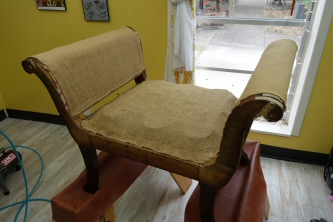
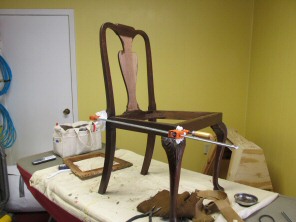
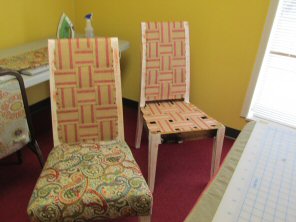
removing front back |
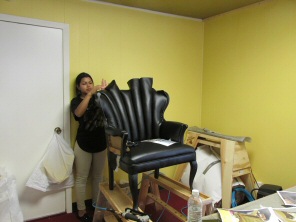
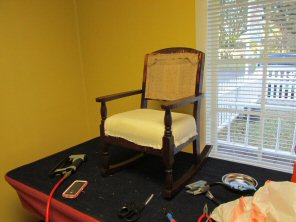
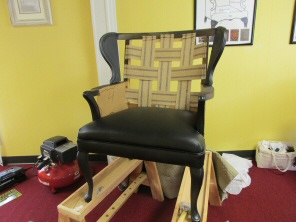 Seat done |
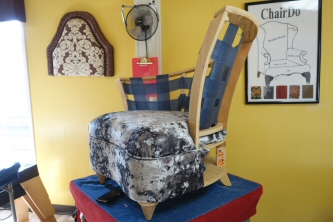
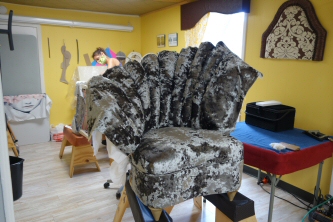
Installing the channel back |
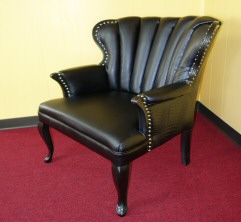
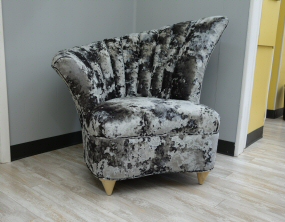
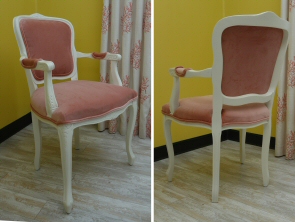
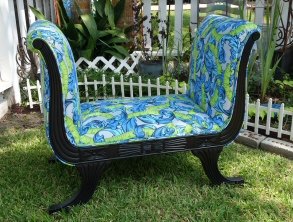
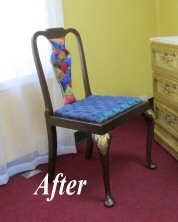
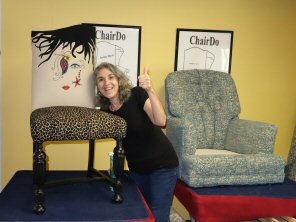
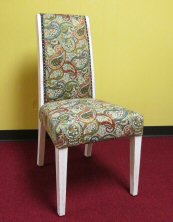
Finished Channel back chair |
|
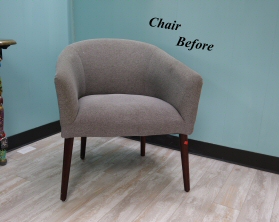
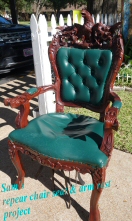
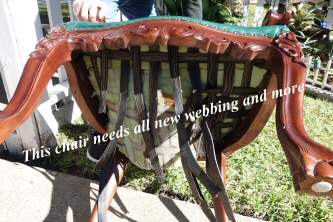
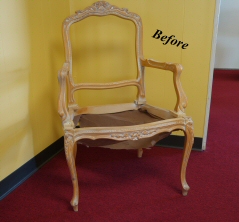
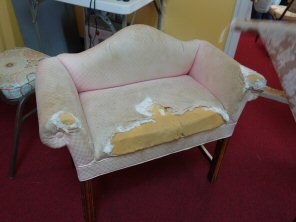
Sarah's original chair |
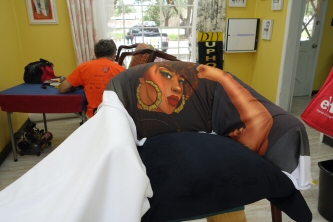
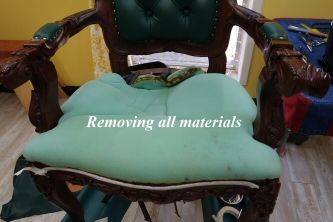
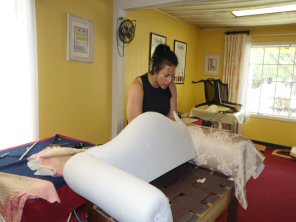
removing materials |
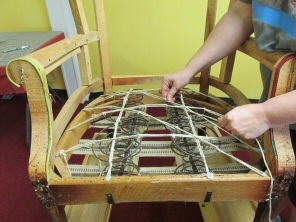
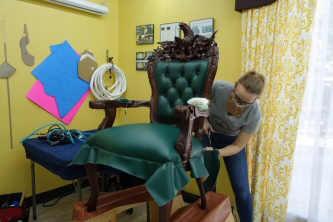
Sarah tying the springs |
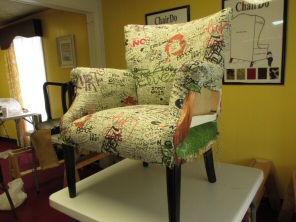 Sarah's 1/2 done chair |
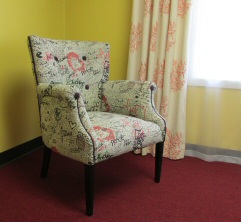
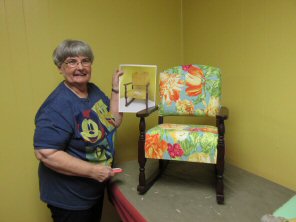
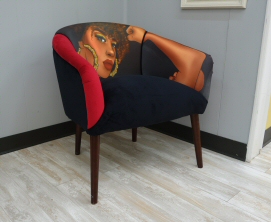
Finished chair with beautiful graffiti fabric |
|
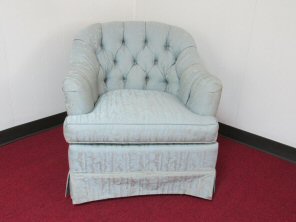
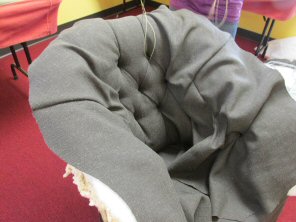
Eva's original chair |
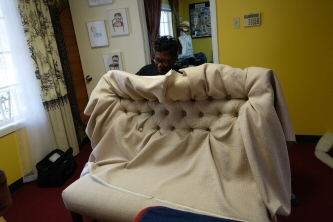
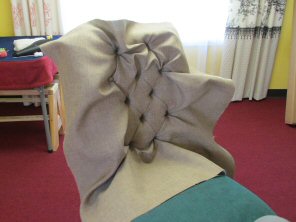
Eva is tufting fabric with buttons |
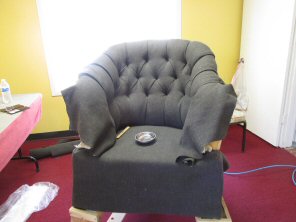
Seat and front back almost done |
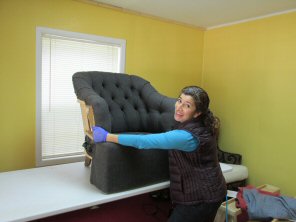
Eva hugging her beautiful chair |
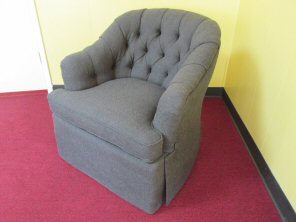
Finished Eva's Tufted chair |
|
Georgie's little chair |
New seat cushion on chair |
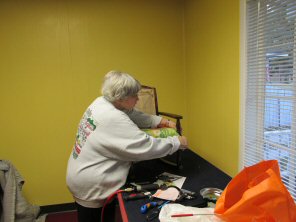 She is working placing new fabric |
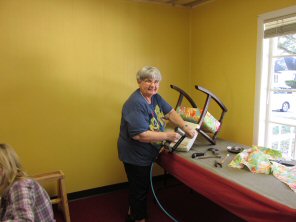 Rebuilding new back on little chair |
Finished her beautiful chair on a print fabric |
|
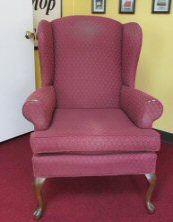
Bryana's original wingback chair |
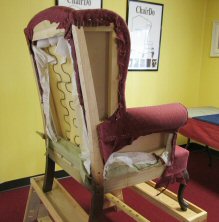
Removing deck fabric |
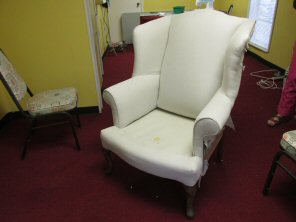 Wingback chair front is ready |
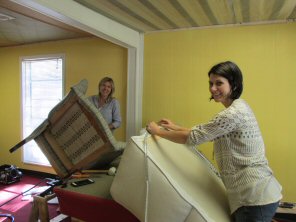 Attaching the metal tacking strip |
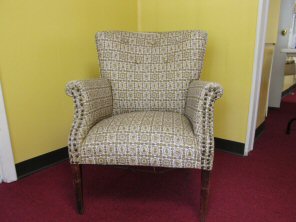
Finished chair with beautiful Texture fabric |
|
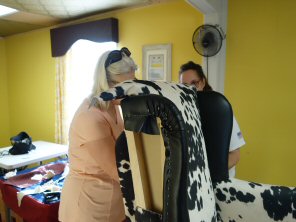
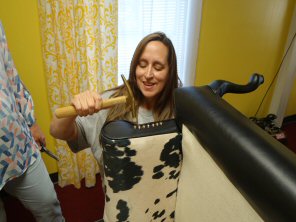
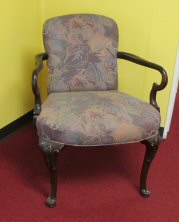
Linda's original wingback chair |
Linda removing fabric from her chair |
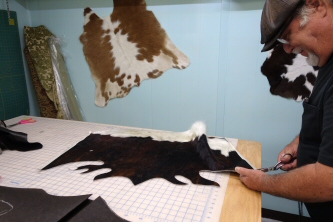
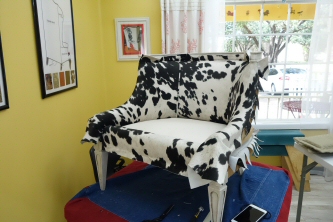
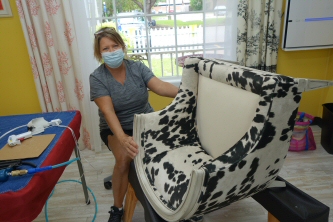
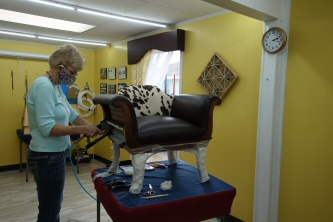
Copying pattern to cowhide |
Reupholstering outside wing |
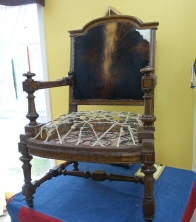
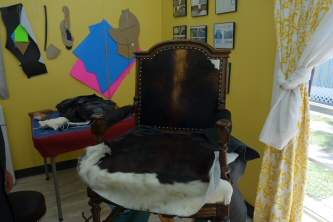
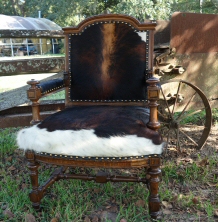
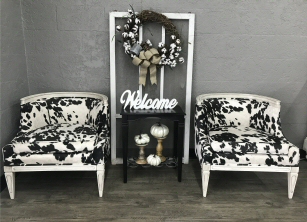
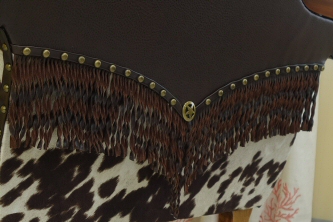
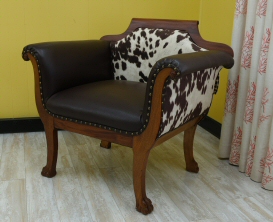
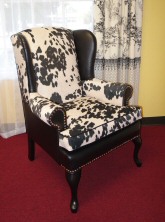
Wingback chair on cowhide and faux leather |
|
Alice's highback chair |
Alice removing staples from underneath her chair |
Getting ready to cut fabric, Alice choose five patterns |
Alice's finished chair is a beautiful make over, adding a button on a the front back |
Alice's finished highback chair with five different patterns of Jacquard fabric, legs painted black |
|
Jade's original chair |
Jade working with her friend |
After removing old materials, they refinished the wood and reupholstered the seat bottom |
Working together to staple fabric to the back of the chair |
Finished chair on soft black Chenille |
|
Jennifer 's wingback chair |
Removing the side panels the on chair |
She removed front back, inside wings, and outside panels |
Jennifer sewing piping for her chair |
Finished wingback chair on print Jacquard with with blue piping |
|
Marlyn's original chair |
Starting to remove the front back of the chair |
Cleaning old materials |
Adding upholstered buttons on chair |
Finished chair with beautiful Texture fabric |
|
Nancy's original chair |
Detaching piping from the removed fabric which becomes the future pattern |
Ready to start reupholstering |
Nancy finished stapling new vinyl to the seat and side arm |
Finished chair on alligator vinyl print |
|
Jennifer's original chair |
Jennifer and Randy working together to mold Ultra Suede fabric to the arm of the chair |
Randy working on the back of chair |
Randy closing back of chair with this beautiful striped Jacquard |
Finished chair with Ultra Suede and striped Jacquard on the back |
|
Leah's original chair |
Leah is happy to begin removing the old faded fabric |
Stapling inside arm, after positioning the fascia cover over the arm front |
Placing and stapling the flexible metal strip on the back of the chair |
Chair upholstered with Texture fabric and new wood feet |
|
Lori's wingback chair |
Lori removing old fabric |
Jackie checking quality on work and getting ready to install the outside back |
Stapling the flexible metal strip |
Finished wingback chair with Faux Leather and Western Tapestry panel |
|
Cheryl's original recliner chair on Vinyl |
Cheryl cleaning up old staples on the disassembled recliner (left). Rebuilt padding and redesigned arms of recliner for a totally new look (right). |
Working on closing the outside arm panels, then it's ready to assemble the recliner back together |
Recliner finished with front back, arm rests, and foot rest redesigned |
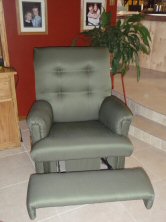 Finished recliner in Cheryl's house with beautiful green Jacquard, a totally new look for a comfortable recliner. |
|
Lisa's original Leather chair was bought with a hole chewed by a dog |
Lisa removing decorative upholstery tacks |
Cleaning up and measuring padding |
Starting reupholstery by attaching the deck cover |
Finished with Faux Leather, reupholstered buttons, and decorative tacks |
|
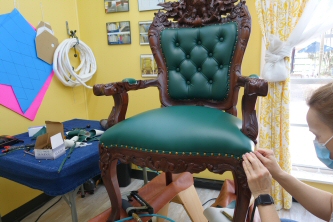
Christine's "Princess" chair |
Removing skirt from the chair, later refinishing wood legs, skirt will be history |
Chair after removing front back showing shape of frame |
After side arms in place moving to work on deck |
Finished chair with Chenille fabric and buttons with contrasting black fabric |
|
Leslie's old leather chair |
Leslie happy to start her art piece. This chair has been waiting for 15 years and now she is taking staples out |
Cleaning the patterns and enjoying the experience of a new task |
Rebuilding arm rest
|
Finished chair with two different cowhides and using decorative tacks on the back |
|
Nancy's chair |
Removing her first piece, the cambric or dust cover |
Checking for webbing quality. Then after sanding her chair, she applied wood finish stain, giving a rich color to the chair |
|
Finished chair on Texture fabric with a chocolate color trim gimp on the frame |
|
Sheryl's chair |
Sheryl and Louie working together removing old fabric |
Chair cushion rebuilt with new foam and batting |
Louie being funny, making us laugh with his fantastic humor |
Finished with Jacquard print and Texture fabric, a beautiful color combination |
|
Patricia's chair |
All original fabric off |
Reupholstery begins |
Michael helping on the side |
Finished with two Jacquard prints |
|
Andrea's recliner chair |
Removing the outside back |
Andrea working on her seat cushion after disassembling the recliner |
Back of recliner redesigned, adding one piece of fabric to the front back and buttons, ready to assemble |
Finished recliner with Texture and Chenille fabrics |
|
Kathleen's antique wingback chair |
Gregory and "Katy" starting the project, removing the cambric dust cover |
Exposing wood frame of the front back chair, showing gap where the fabric travels to the back |
Entire front of chair is done, great team job! |
Finished wingback chair with Jacquard |
|
Michael's original love seat |
Exposing metal tacking strip |
Michael and Patricia installing side panel |
Patricia sewing piping |
Finished love seat on alligator Vinyl print |
|
Classroom having fun |
Gregory working on his love seat |
Jennifer adding cording to the wing |
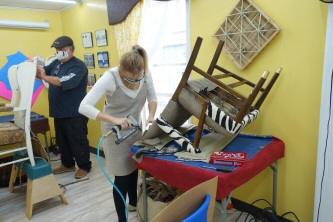
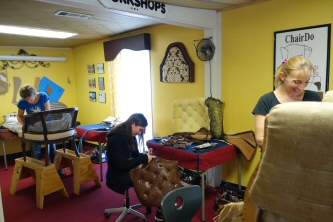
VSA classroom |
Cheryl relaxing on her new recliner! |
|
Jackie guiding Cheryl on the next step |
Cheryl starts removing fabric on another chair! |
Alice working on her double cording |
Jackie showing how to install a button |
Becki and Nancy adding buttons |
|
Patrick discussing how to refinish back of foot rest |
Demostrating how to glue a gimp |
Nancy placing and gluing gimp |
Back of Lisa's chair showing decorative tacks |
Lisa enjoying her finished chair! |
|
Patrick building his seat cushion |
Jennifer and Jackie discussing her wingback chair |
Mary being pretty! |
Patrick, Andrea, and Randy working |
Christine laughing! |
|
Mary sewing piping |
Mary sewing piping with Jackie watching |
Jackie demonstrating how to insert a cushion pad into its cushion cover |
Using a plastic bag and a vacuum cleaner to extract air from cushion pad |
Easy to insert cushion cover, removing plastic bag afterwards |
|
Nancy working on ottoman skirt |
VSA classroom |
Nancy seated on her new alligator chair |
Leah posing, very proud of her work |
Jennifer and Jackie |
Demo Classes and Sewing Classes by Jackie
|
Demo Class: Coffee table becomes a bench |
Demo: Attaching a welting cording to the cushion cover |
Demo: Finish attaching decor tassels to the bench |
Demo: Finished bench from a coffee table |
Demo: Making a cornice box
Demo: Making a headboard |
|
Demo: Making a decorated throw blanket |
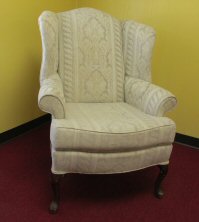
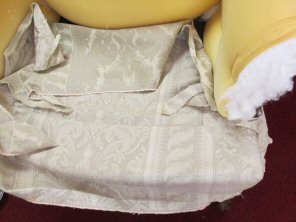
Demo: Making a slipcover for a chair |
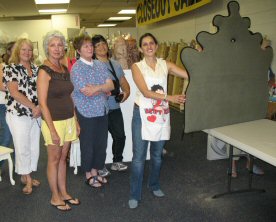 Demo: Designing a headboard |
Headboard demonstration |
Headboard finished |
|
Jackie doing a mini bedding "Demo" |
Reupholstery demo audience |
Jackie teaching sewing classes |
Wildflower Village Art center |
Sewing classes at Wildflower |
